First things first….thanks for your support for weeks 1&2! Excited to sew for week 3….well, with some reservations. Voting link is here, too.

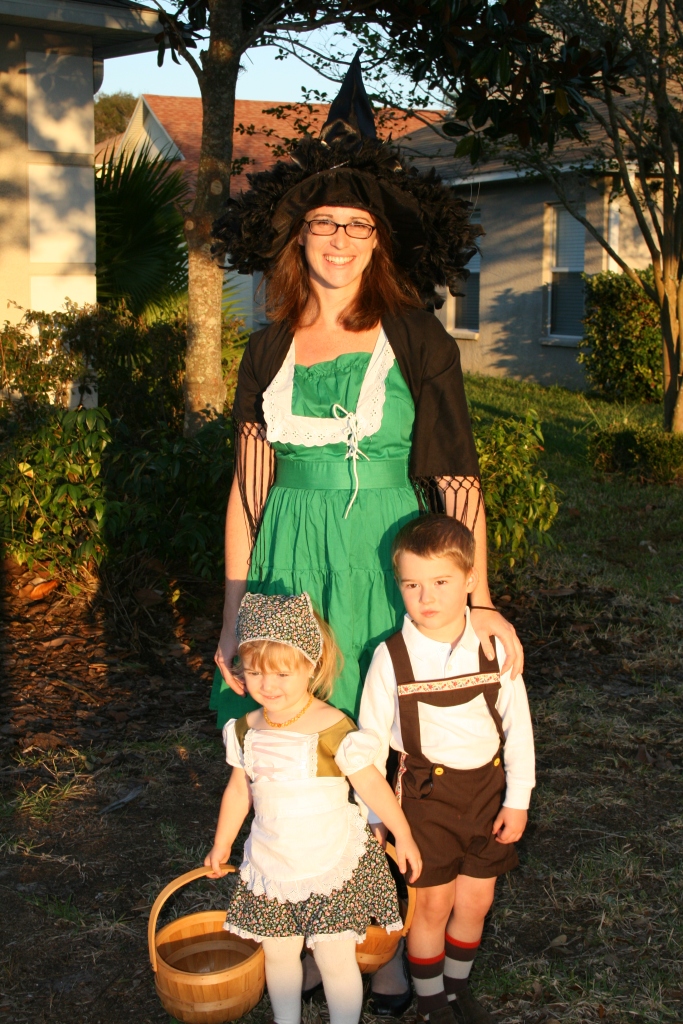
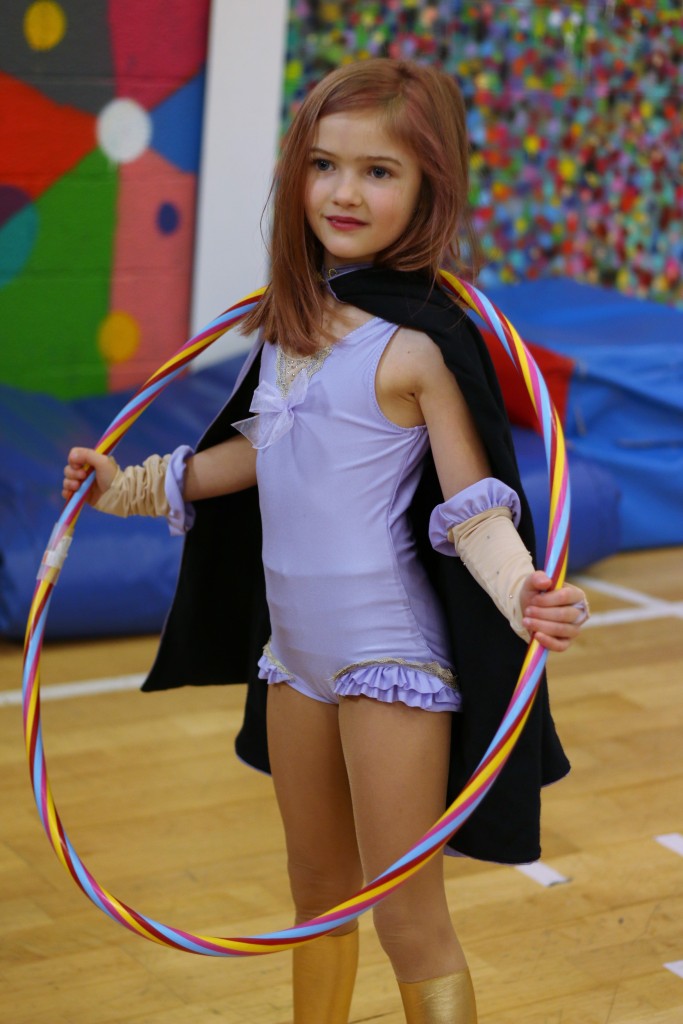
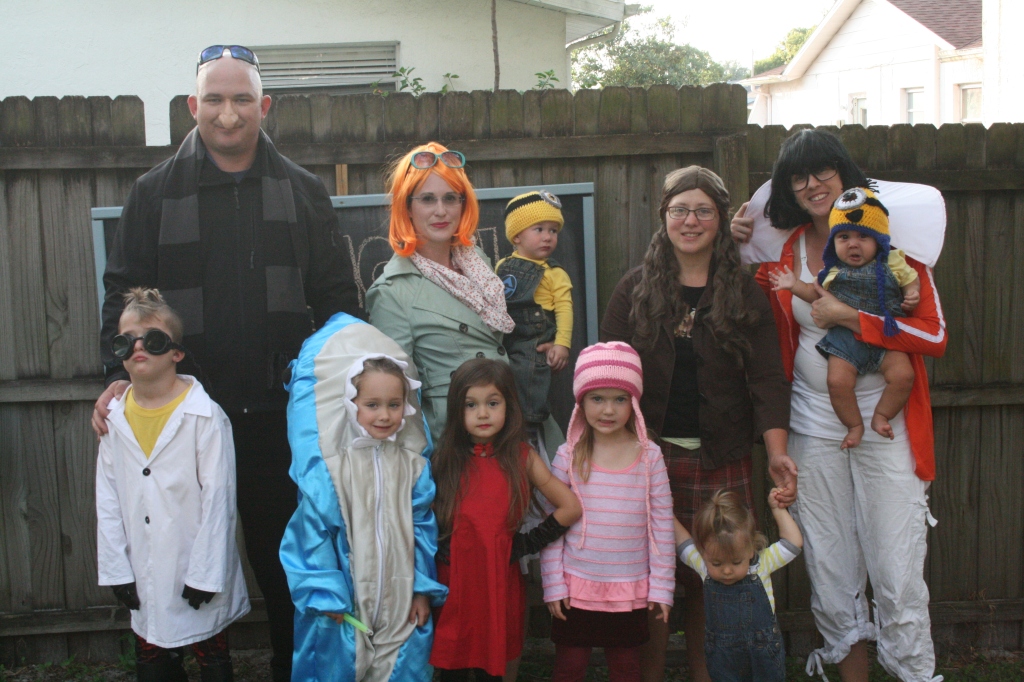
I love a good cosplay. I’ve spent nearly a decade perfecting our family costumes and have really pushed my sewing abilities doing them, from my youngest son’s first halloween that was mostly glue gun to today. However, since moving to Ireland that has shifted a ton. There’s a lot less costume parades in nice sunny weather here, and the holiday is much more to it’s macabre roots and much less Disney Princess. Not to mention that it’s super cold and rainy in October, trick or treating is a little different than Florida.
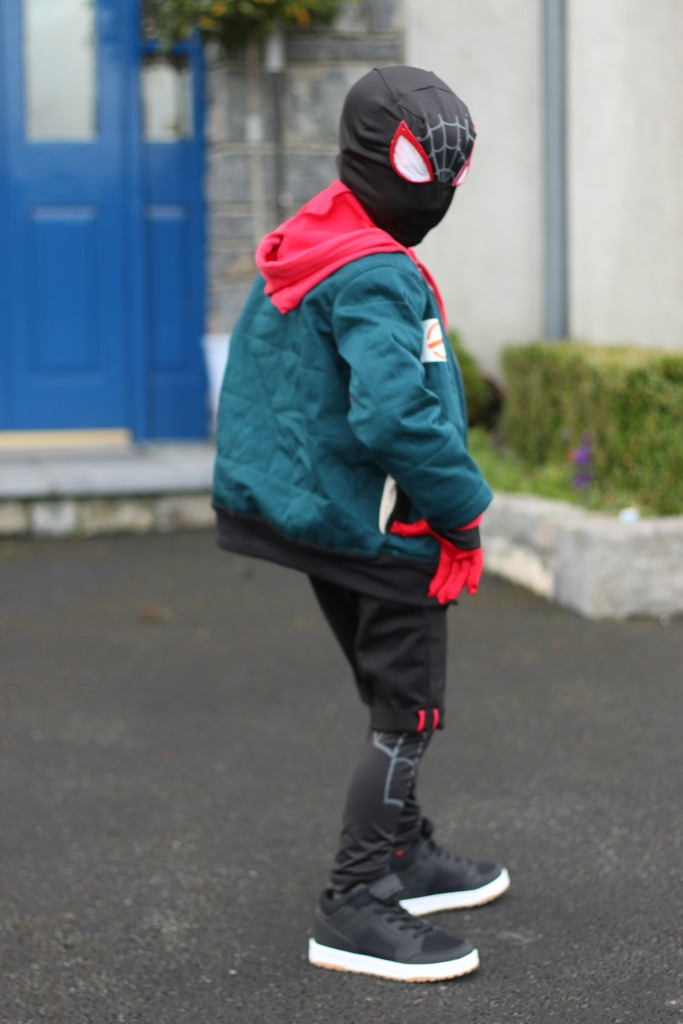
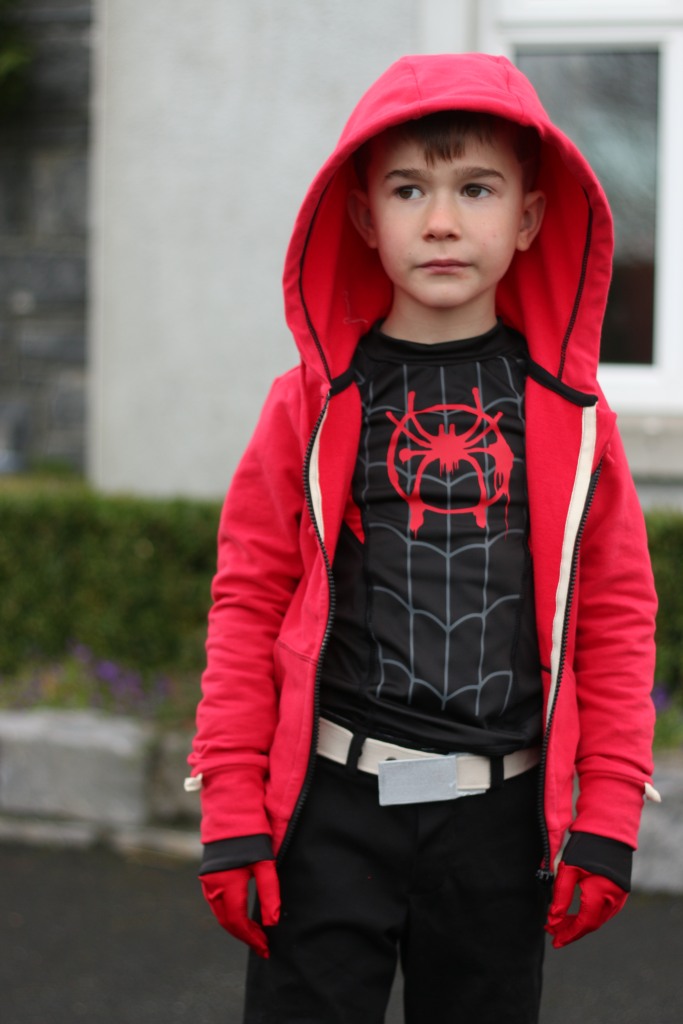
This year, it’s even harder since Ireland is on full lockdown so there’s just that tiny extra added layer of apathy from me. My older two refuse to family costume anymore, so the weight of my Halloween love is on my younger two. The littlest has declared her love for Elsa, so that leaves this guy who is still OBSESSED with dress up, and I was willing to make it magical for him. His current favorite movie is Into the Spider-Verse, since what is better than one arachnid related superhero? TONs of them, so I set to work on making him the best Miles Morales I could.
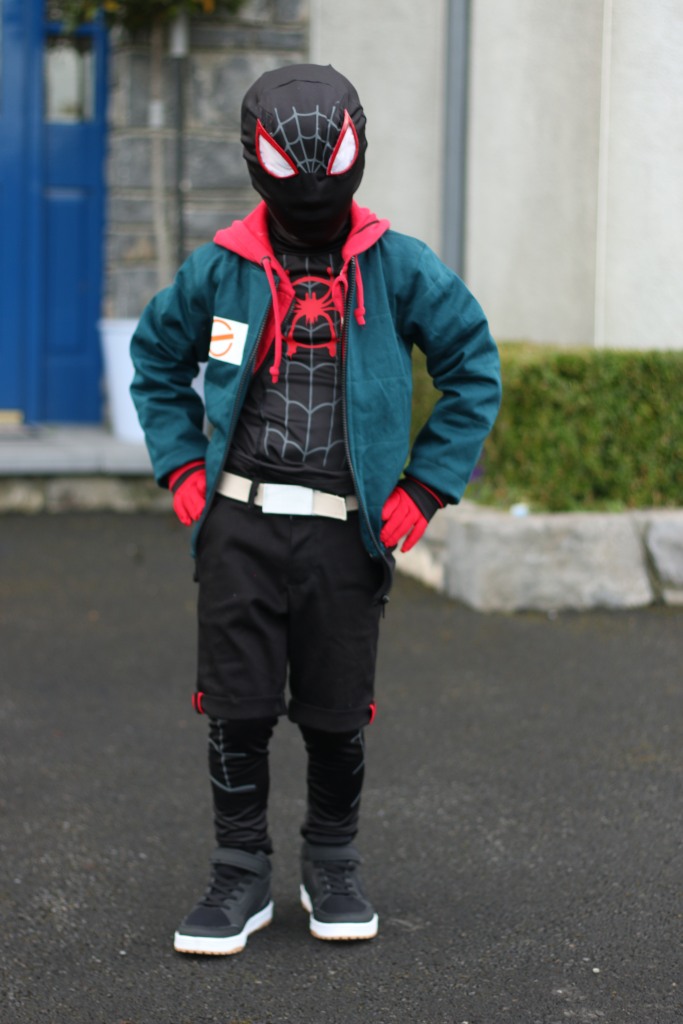
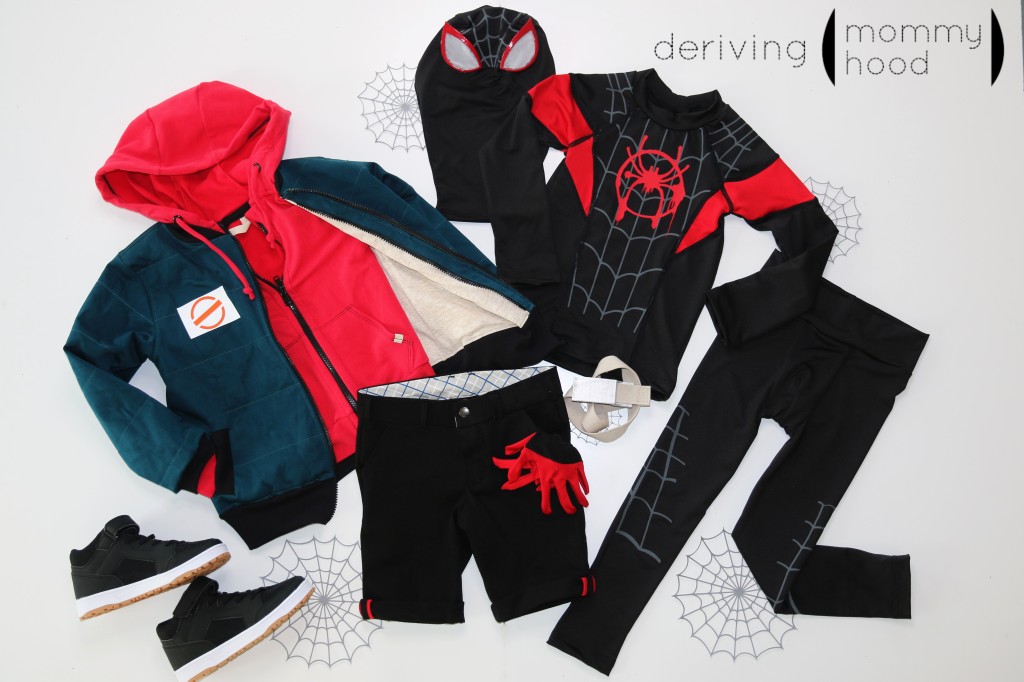
Now, if you read all that you know by now that this costume needed to be one part fun but all the parts wearable beyond this slightly non-existent holiday, so my goal was to create durable, long lasting clothing more than a costume.
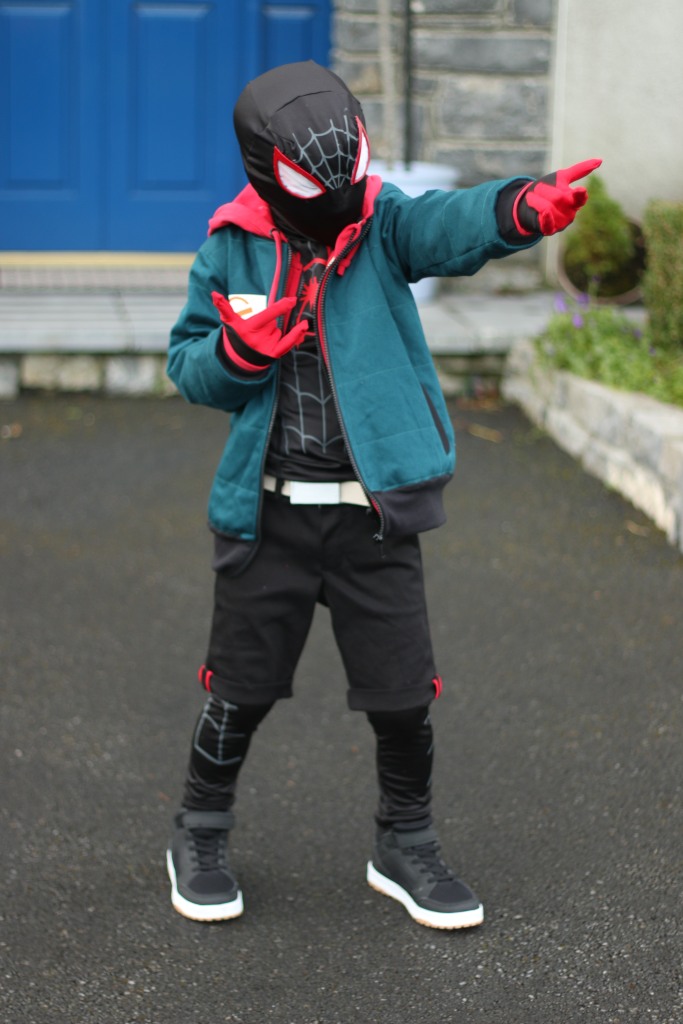
Let’s start with the jacket. I used stretch twill in petrol from Dress Fabrics, adding fusible fleece for some puffy loft. After fusing it, I added some subtle horizontal quilting stitches. I used the Ollie Bomber Jacket from Sew a Little Seam because it is a near identical match to the inspiration, but went up a size since I was using bulky non knit fabrics. I did the welt pockets and collar version to keep it close to the look, adding the lining fabric inside the pockets to peek out ever so slightly. For the lining, I used stretch jersey in a beige marl provided by Minerva. I love how the petrol and beige look with each other, super smart. I went ahead and fully finished all inside seams, adding a little red hanging loop as well. Now, to take it up a notch I decided to make it have a zip out lining like so many of their ready to wear jackets. I started by cutting the lining down 1.5″ to add a strip of the main fabric as a facing, then added another zip between the lining and that facing. I switched the orientation of that zip by flipping around the slider so it is ‘backwards’ from the usual. I also made sure it was shorter and was above the bottom binding. On the sleeve cuffs and back neckband, I added twill tape strips (also from Minerva) with snaps to hold the inner lining in place.
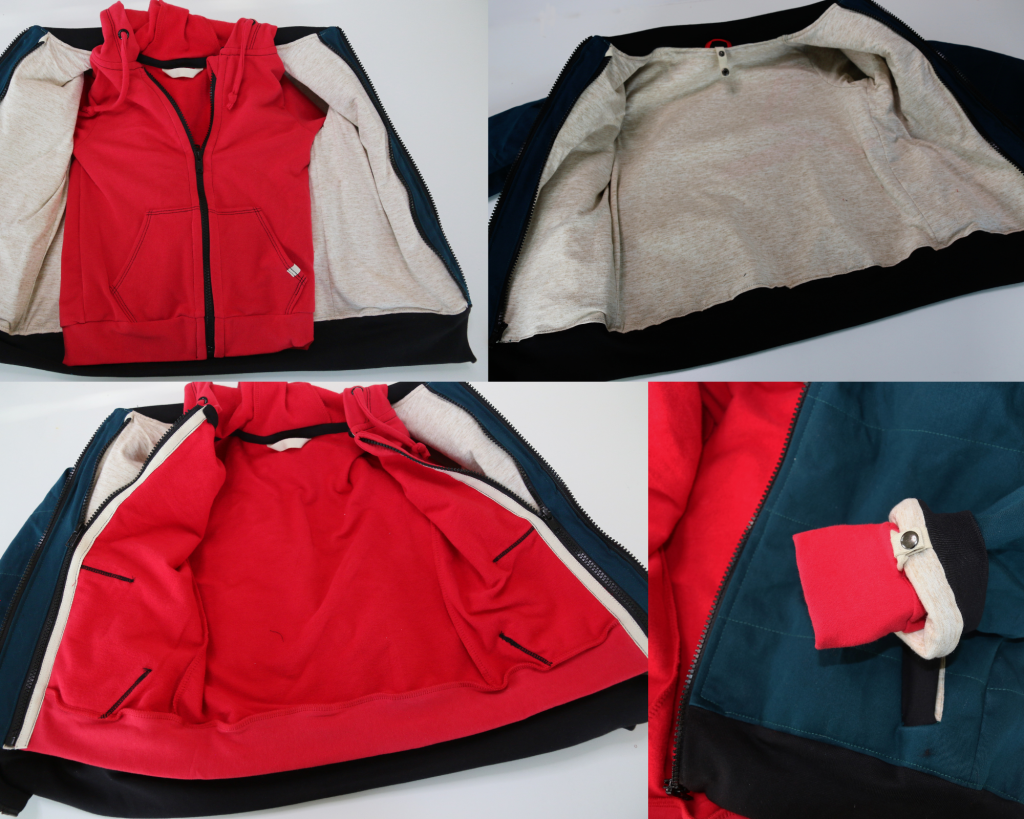
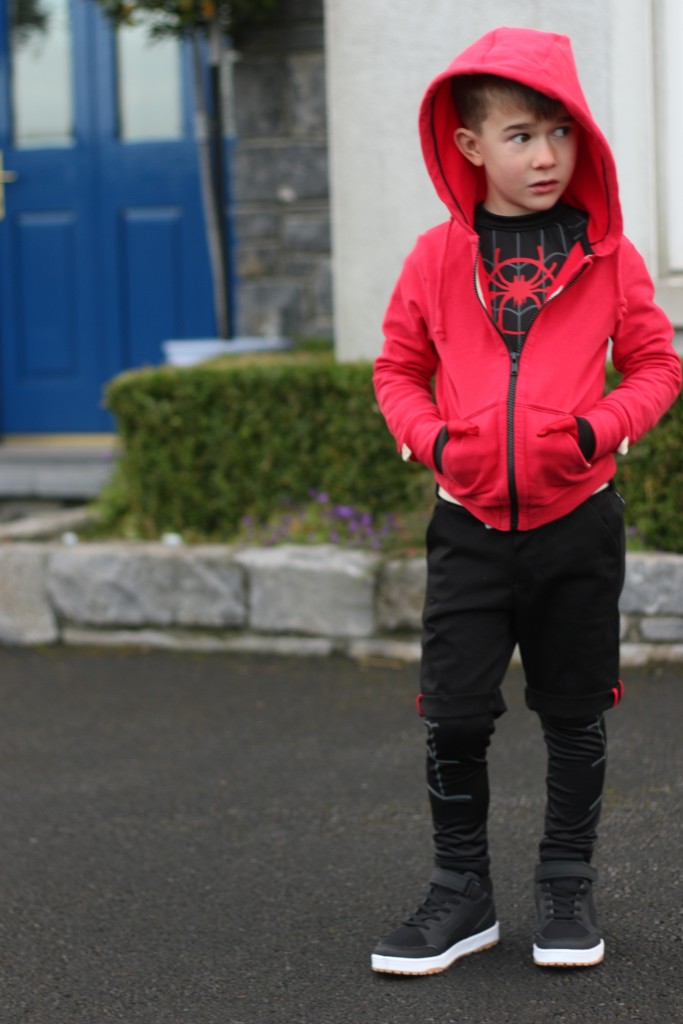
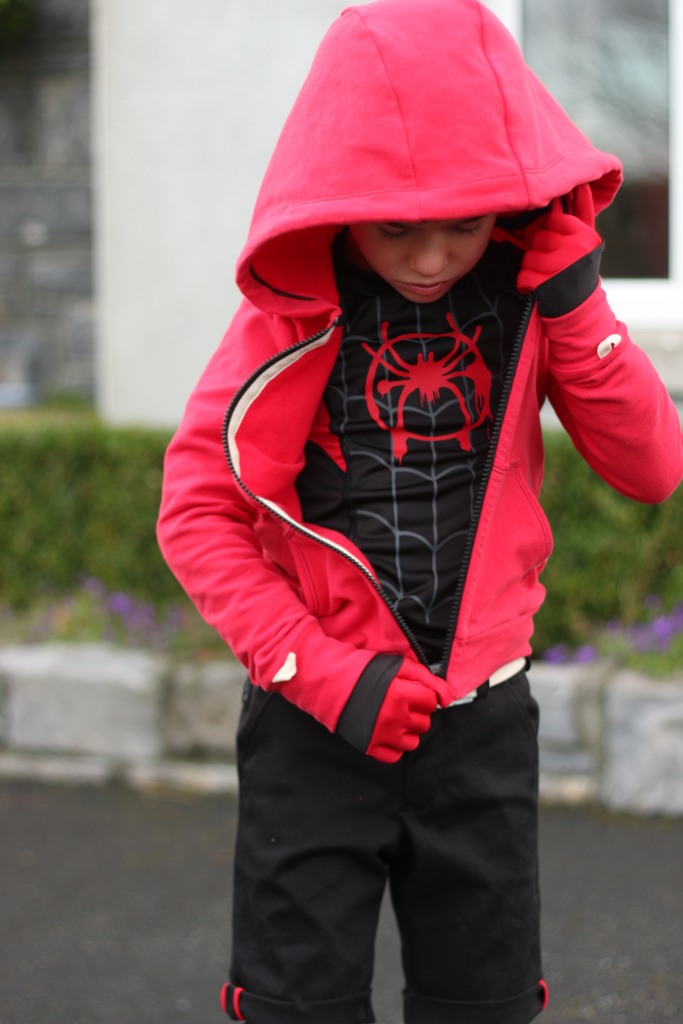
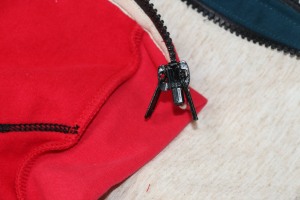
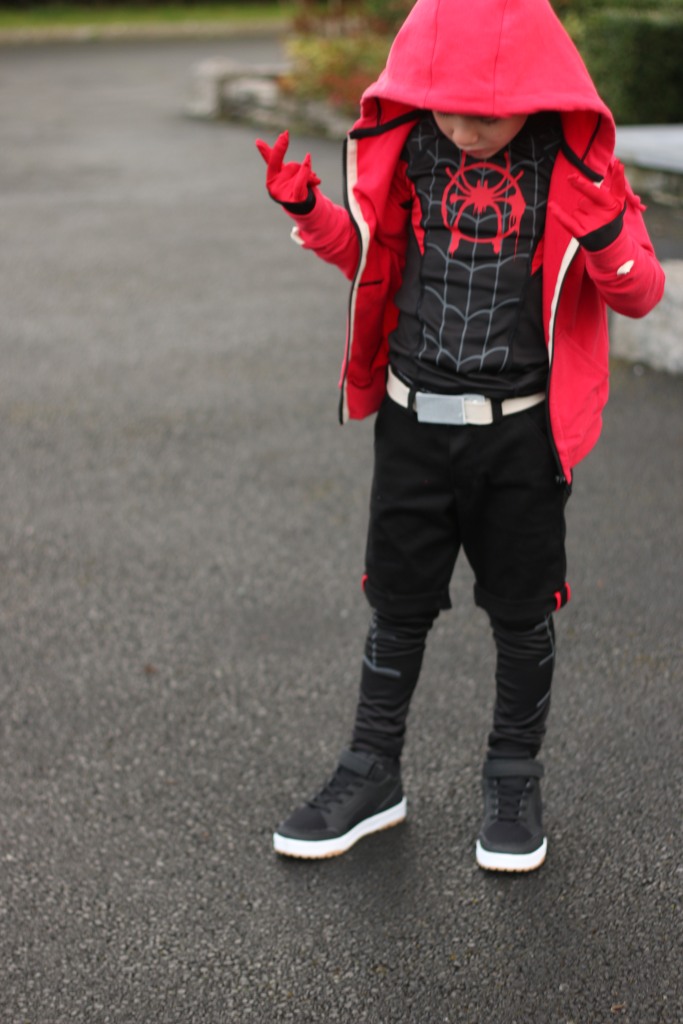
For the zip out lining, I used brushed back sweat in red from Dress Fabrics. I constructed a basic hoodie by combining a few patterns (New Horizons Designs 11th Hour Gear tee for the basic shape, shortened and sized up wit a raised adjusted neckline for a hoodie shape, Ollie Bomber hood since I wanted a 3 piece hood that was nice and full, and the kangaroo pocket from the New Horizons Tami Hoodie). I added little twill loops on the cuffs and behind the hood to attach it to the outer shell. I also used ribbing on the inside neckline of the hood to make it more finished, plus another hanging loop. The zipper was a little complicated again since it needed to be able to zip from the outside when wearing as a hoodie and the inside when it zips into the jacket, so I had my husband take apart a zipper pull and solder an extra pull to the inside of the zip I used for the hoodie. Last, I used more of the twill tape to finish the inside of the zip.
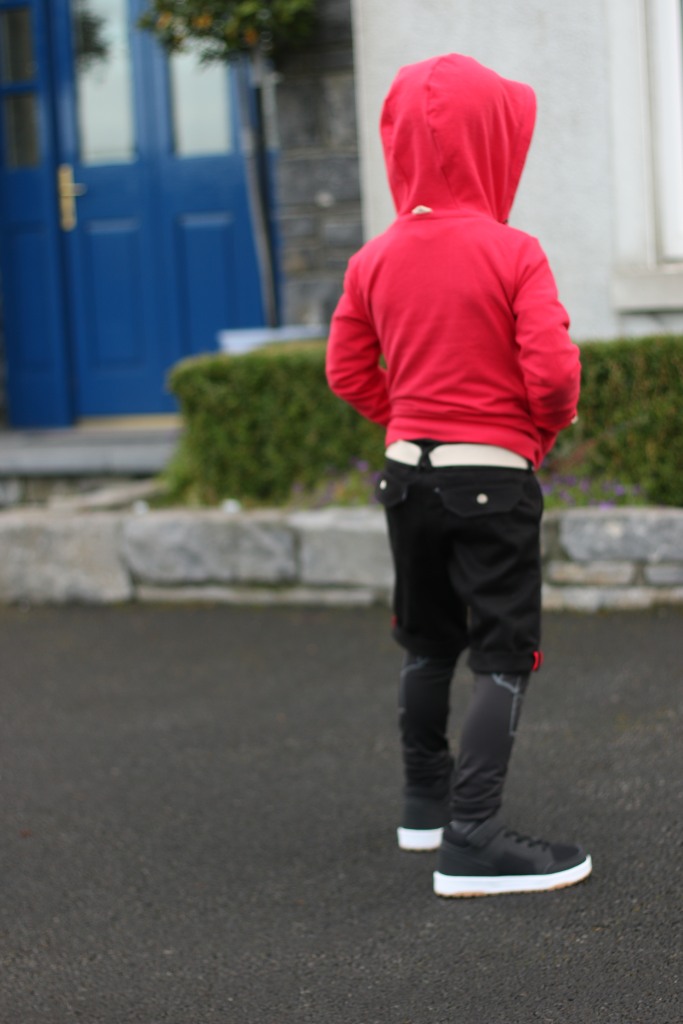
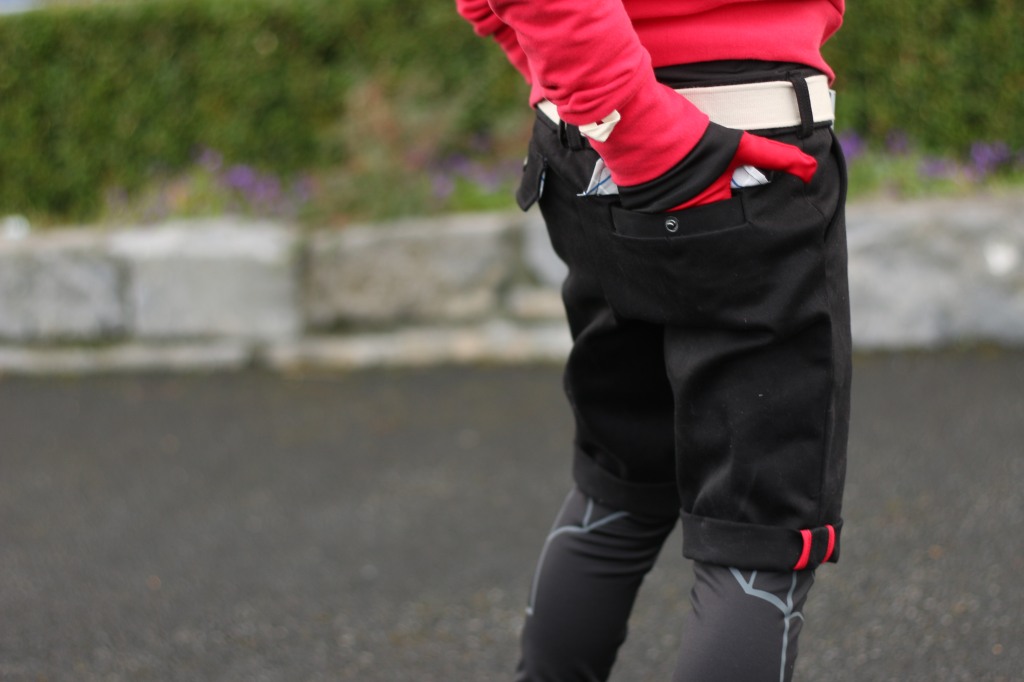
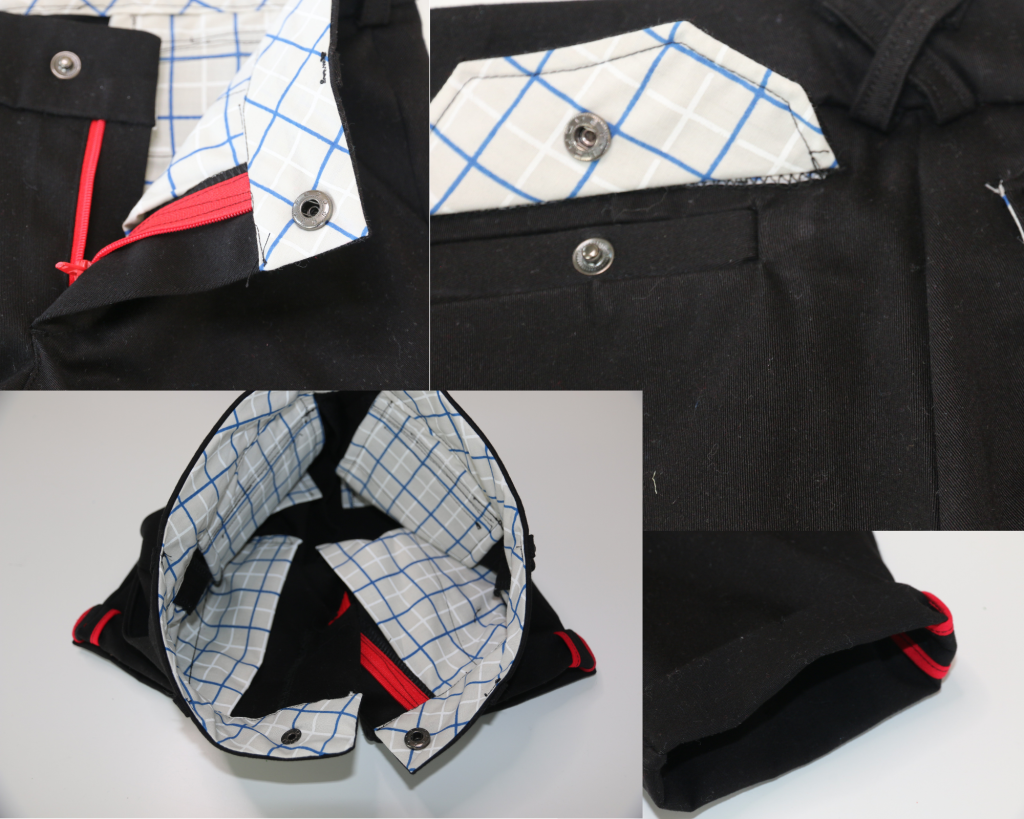
Next up, a solid pair of twill shorts. I wanted a basic pair that he can wear again and again, and wanted lots of clean finishes. I used the Grady pattern from Sew a Little Seam for these, doing all the options–front slant pockets with facings, fitted waistband, back welt pockets, fully functional zip fly. I added a few of my own touches, changing up the belt loops a little, adding flaps with snaps over the back welts (because if you’re going to take forever making welts might as well cover them, right? haha), and I used french seams on the inseam and red bias tape on the outseam so that I could do a little roll cuff and have a tiny touch of the red show to coordinate with the rest of the look. The outer fabric is more stretch twill from Dress Fabrics, and the lining is a basic cotton I stole from my mom’s stash as it reminded me of preppy spiderman for whatever reason.
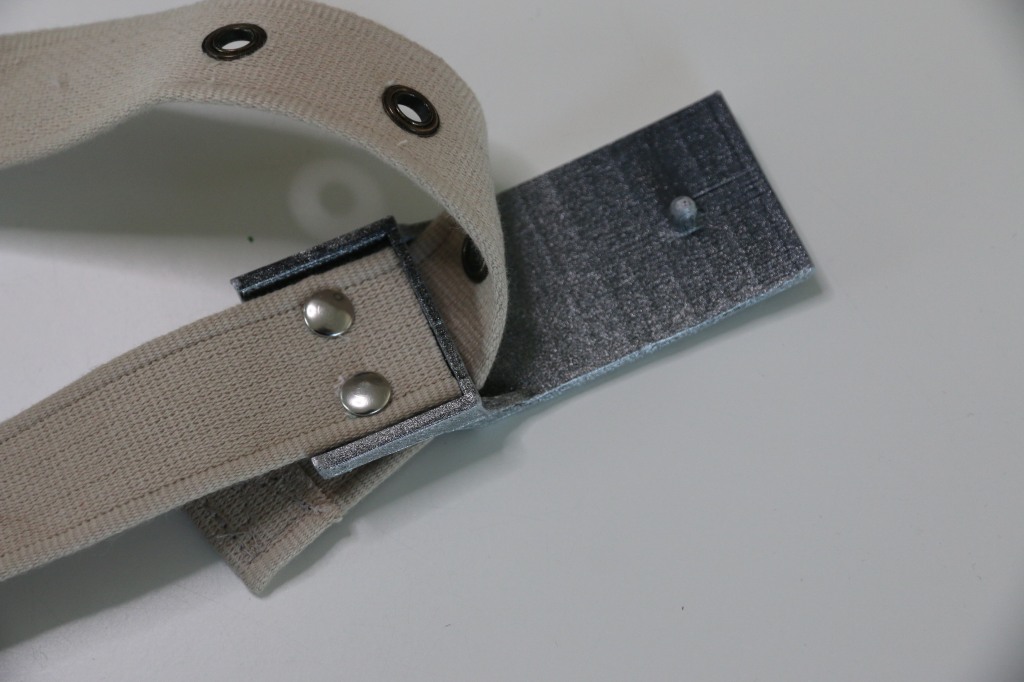
I made a super quick belt out of some cotton webbing (thanks, Sarah!), adding eyelets for holes. I had the husband help by 3d printing a belt buckle that I spray painted in silver and riveted on to the webbing.
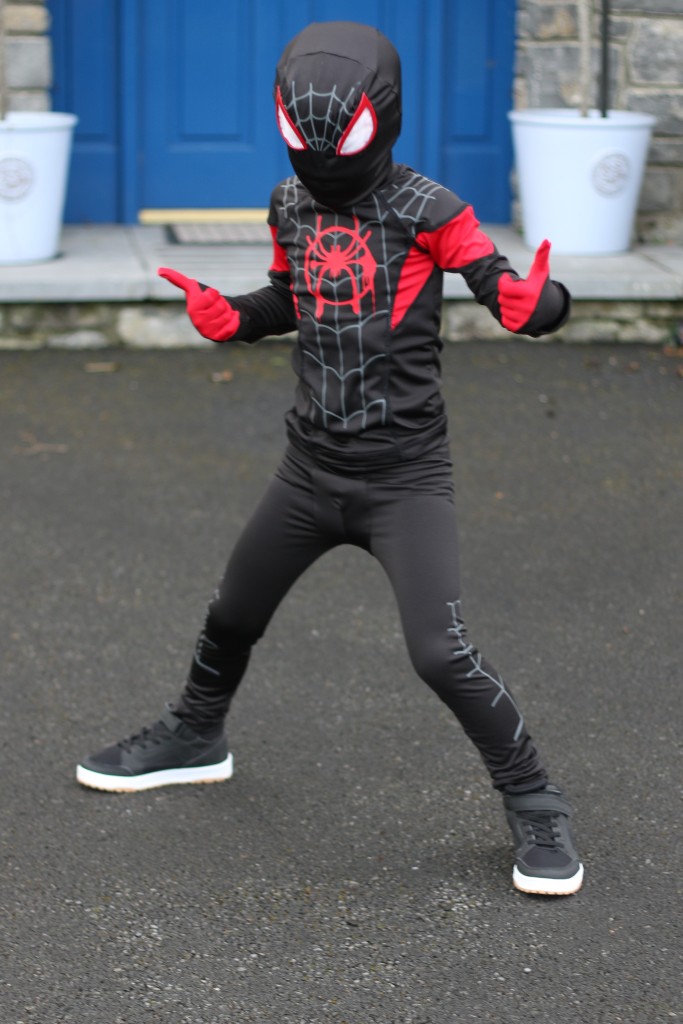
Now those are my super tailored touches, but it was still a super hero costume deep down so I had to break out some spandex. I used black and red sports lycra from Dress Fabrics to make the undersuit. Let’s start with the leggings since those were the fastest part of this costume. I started with Jalie 3242 as it’s my go to for his top drawer, with some slight mods that I do like using a dart instead of a full seam on the front panel. I lengthened them to leggings length by laying them over a legging pattern (I don’t even remember which…) and then added a basic yoga waist rather than exposed elastic that I’d usually use. He got a hint of htv spider webs on the thighs too to make them a little more exciting. They will get lots of use as a base layer for outside play on a cold day or weekly cold Saturday Morning Soccer. For the top, I started with a basic raglan (streamline tee from New Horizons) and raised the neckline and added a mock turtleneck, plus some colorblocking to match the inspiration, and of course lots of htv webs and the iconic red spider.
BTW. I HATE spiders. It had to be said.
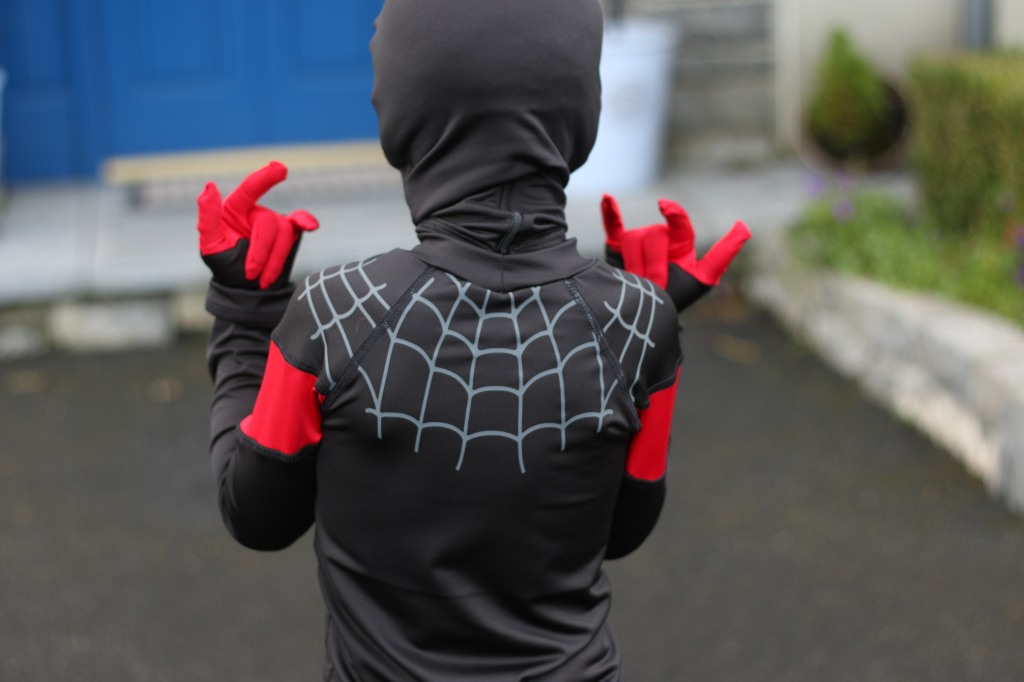
The top can serve double duty, both as a base layer like the leggings and as a rash guard for summer. Oh triple duty, since he can wear it for saving the city and all.
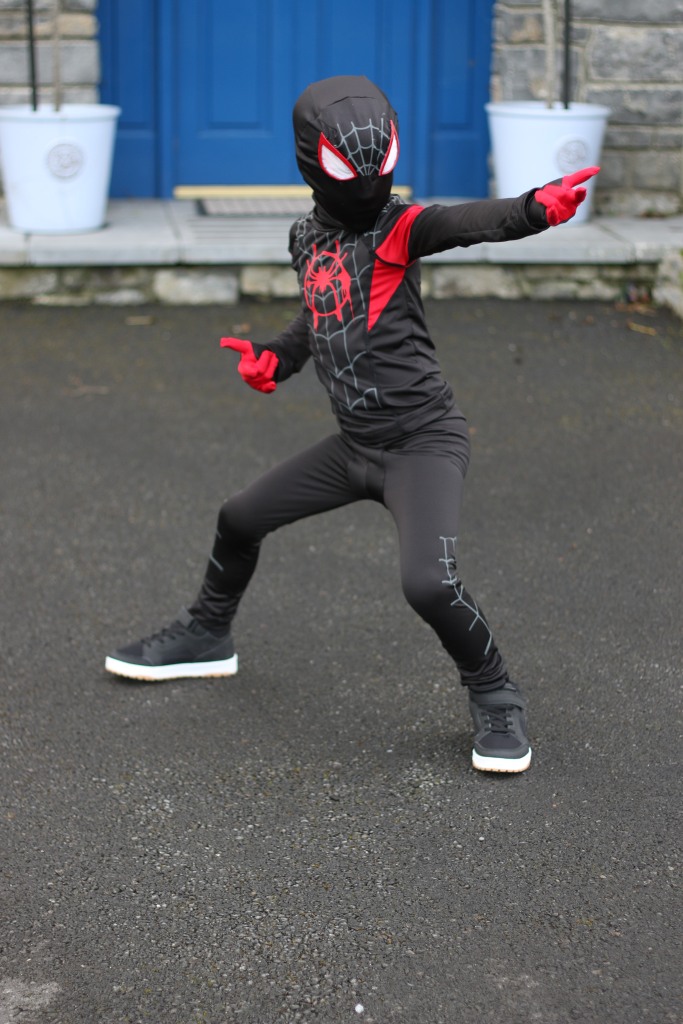
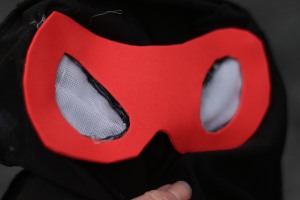
Last, the absolute least useful parts but the ones that were just totally necessary to make this guy’s day. Gloves were simple, I traced his hand, added seam allowance and a colorblock line, and made them out of scrap lycra. The mask, I took circumference measurements of his head and neck in a few places, and height measures, transferred it to paper to get a basic head shape, added seam allowance and darts for shaping. I cut a little bit of web vinyl for the front, then started on those eyes. I had the hubby step in again with his 3d printer obsession hobby and made the lenses. Those got a coat of red paint and then I sandwiched some white mesh between them and the mask with lots of different glues. When he tried it on he expressed distaste for the amount of glue so I of course added more glue to attach some craft foam on the inside for comfort. Last, it got a zipper up the back to make it easier to get on and off. Now, I am not pretending these pieces are for anything other than dress up purposes but they really do help complete the look.
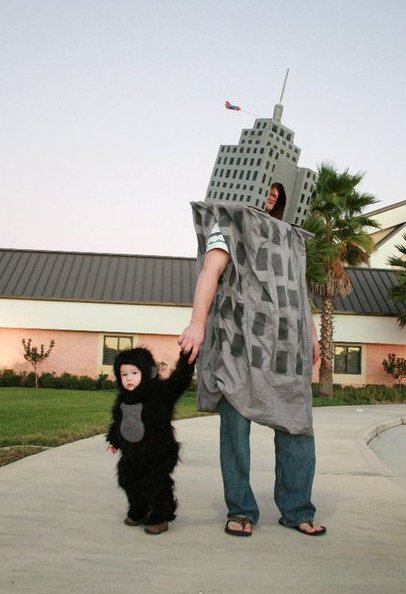
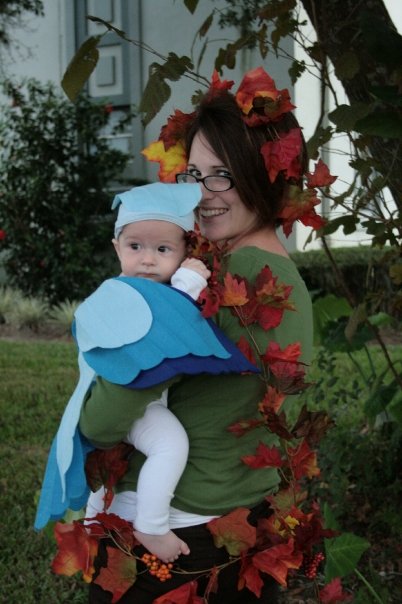
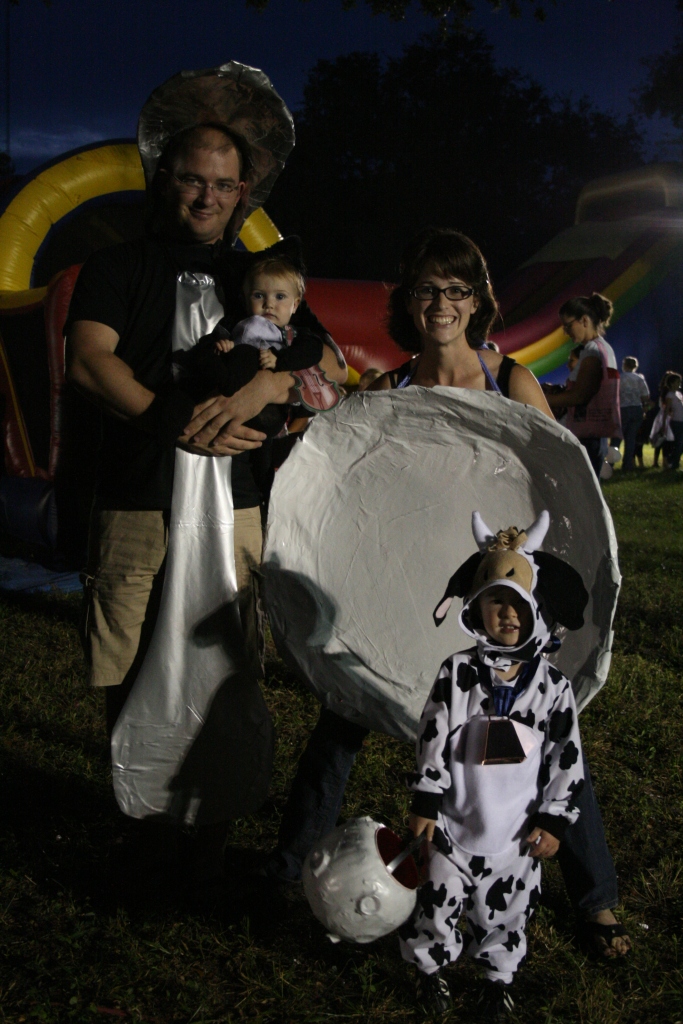
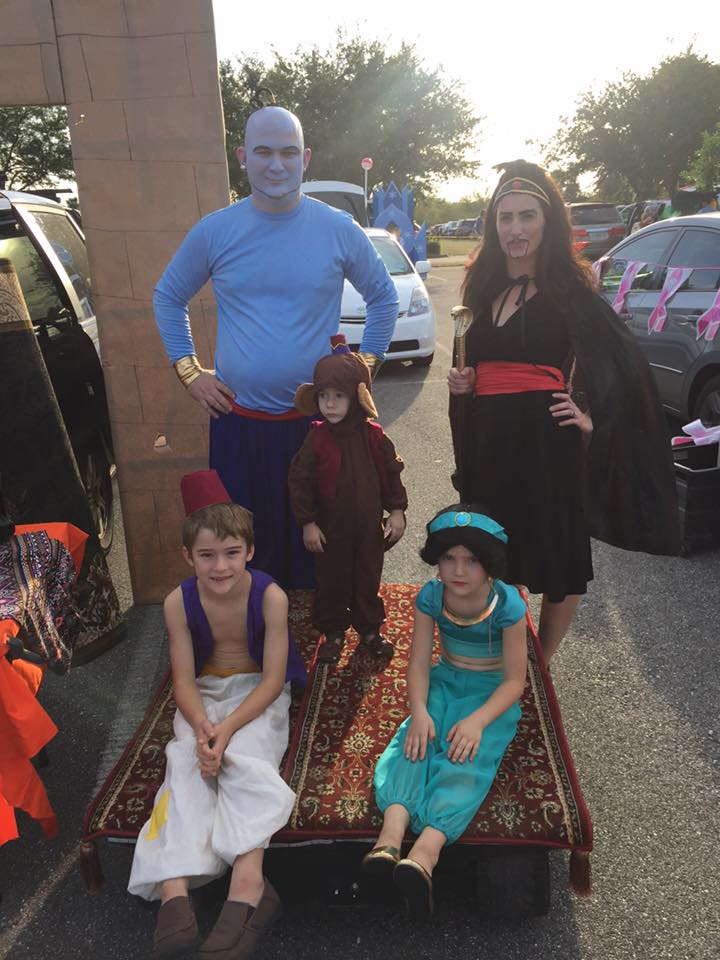
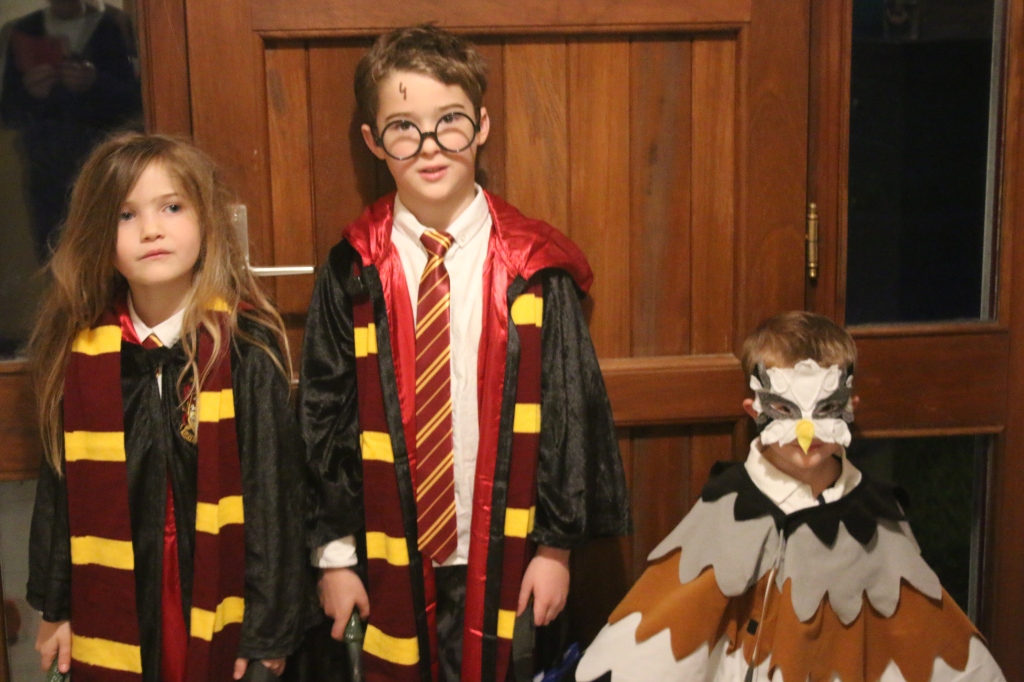
So there you have it. If I had my way, and we were back in Florida I’d be making myself into Dr. Octavius….forcing the littlest into a a Spider-Ham and big sis into a SpiderGwen….making the oldest be out-of-shape SpiderMan, and then the husband could be Kingpin….but alas. Just Miles this year. So enjoy some costumes from year’s past since this era has come to an end for our family….and then don’t forget to vote!!
