Archives for posts with tag: Shopping

So after a fun trick or treating night with dear friends,

DSC_9897

we ended up with a good amount of candy.  We don’t eat a whole lot of candy around here so this year we decided to have some fun with it! Instead of letting it sit in a bowl and collect dust until the next “candy season,” we did some art and experiments with it all.

First we dumped it all out on the kitchen floor and sorted it.

DSC_0003

Starr Lily sorted her “dulces” based on color, or type, or shape.  We found candies that had S’s on them (her new favorite letter) and made a separate pile for all the skittles.

Next we practiced some cutting,

DSC_0059

and more sorting,

DSC_0062

and pouring.

DSC_0066

Then, we observed.

DSC_0071

Within a few seconds of adding water, we had some awesome colors! And because she put different colors into the same bowl, they started blending! It looked really cool. I pulled out the paintbrushes and some paper and she painted with those colors for a little while, but the blending was what really captured her attention.

DSC_0085

Eventually she poured them all into the same bowl, but she made this little work of art first.

DSC_0090

Isn’t it adorable?  Ha! I think all her art works are great. But seriously though, look at how focused she was at getting those little papers to stick with her skittles paint!

I’m not sure what else we”ll do with the other candy.  Maybe see if they float or not? Talk about density? Maybe cut some open and dissect them with tweezers and other pincer tools? Either way, I think she’ll enjoy playing with them.

Have you done fun experiments with candy? I’d love to hear what you did.

Yep, that’s right, doggies, we have multiple doggies.

DSC_9332

And all these pups need nice, comfy, plushy beds to sleep on.  But have you seen the price of dog beds in pet stores? Ridic. Really.  So we just make our own! We use the three inch thick foam from Joann’s (make sure you use your 50% coupon!) and some outdoor canvas-sy material.

DSC_9289

With the fabric right sides together, pin it around the foam.  You’ll want it a little tight. Then take a pen and mark where you’ll sew.

101D3100

To make the corner just pinch and fold the fabric so it folds around and draw another line where you’ll sew, like this:

DSC_9302

Pull out the foam and stitch it up on the lines you drew. That corner line is a little tricky, but just fold it and sew too.

DSC_9305

Before flipping it inside out, I went ahead and hemmed the raw edges so I could stick some Velcro on them. It always makes washing the covers easy when you can just pop out the foam and throw the covers in the washing machine!

DSC_9306

Then flip it inside out and marvel at the corner!

DSC_9308

Almost finished!! Slide (or shove) the foam back into cover and slap some sticky Velcro on the open edge.

DSC_9313

I ran one more line if stitching over the Velcro, just to make sure it stayed in place and that’s it!

101D31001

Now the doggies can sleep comfy again!  Carson was happy about it, but still doesn’t understand why he has to share with the little one, haha.

DSC_9326

Have you made doggie beds before?

Our little bug turned three a couple weeks ago and since she LOVES the pool so much we threw her a Luau for her birthday!

aloha picture

We set up a little table near the front door with the little flower hair clips and we also had some cute grass skirts for our guests as they came in. The dollar store had the skirts and it was fun to see the kiddos (and mamas) running around in their skirts!

drinks table

For the drinks, we borrowed a friend’s soda stream and added some organic lemonade to the spritzy water.  Morgan also made some yummy mixed drink concoction with coconut cream.  It was tastey!  And to set the ambiance, we my little bro, found a fun Hawaiian station on Pandora.

craft table

The craft table was a hit too.

kids crafting

We had two crafts set up: 1) make a paper flower lei (thanks Pinterest!) and 2) create a totem pole mask. Next time, I might make something a little more interactive.

craft with abuelita smile

My mama had fun creating a lei with my little bug too.

carnitas!

Morgan outdid himself with his carnitas tacos and thanks to all the guests who brought some amazing side dishes! And a super thanks to Nana Starr for making a yummy upside down pineapple birthday cake.

cake and morgan

We also had chocolate cupcakes, not from scratch, but the King Arthur gluten free chocolate cake mix is seriously the yummiest mix ever! And we topped them off with a whipped coconut frosting – to. die. for!  In fact, we had some extra and put it on the side for the other cake too. Nom Nom!

blowing candles 2

I really enjoyed the photo backdrop too.  This was another Pinterest winning idea. We had tons of help setting everything up and it came out great!

sla backdrop

It was so nice to have our family and dear friends with us to celebrate my little bug monkey chipmunk (I think that’s her animal of choice today) as she turned three (eek!). And I can’t wait to see what other fun parties we have in our future.

Have you thrown any parties recently?

A few weeks (it might be months at this point), I decided I would start sewing more for myself, and committed to make SOMETHING on that particular day.  I dragged out all the patterns and fabrics, bugged Drea to help me decide, and landed on the Taking Notes skirt out of some Lisette Collection floral sateen I had.  Since it drapes very softly I thought it would be good for a full skirt that wouldn’t make me look too full.

I set out, cut out all my pieces, made the waistband, all is going well. I’m noticing as I’m sewing that this tutorial is not a beginner project, but I’m not a beginner.  I can handle this, right?  Sigh.  Anyway, I get the waistband done and try it on, and it overlaps by a lot (pretty sure it’s not supposed to overlap at all).  Of course there are no size guidelines in the tutorial.  Why didn’t I even consider that it wouldn’t be my size?  Anyway, picked it apart, sewed again, decided that it was close enough to the right size to add on the skirt.

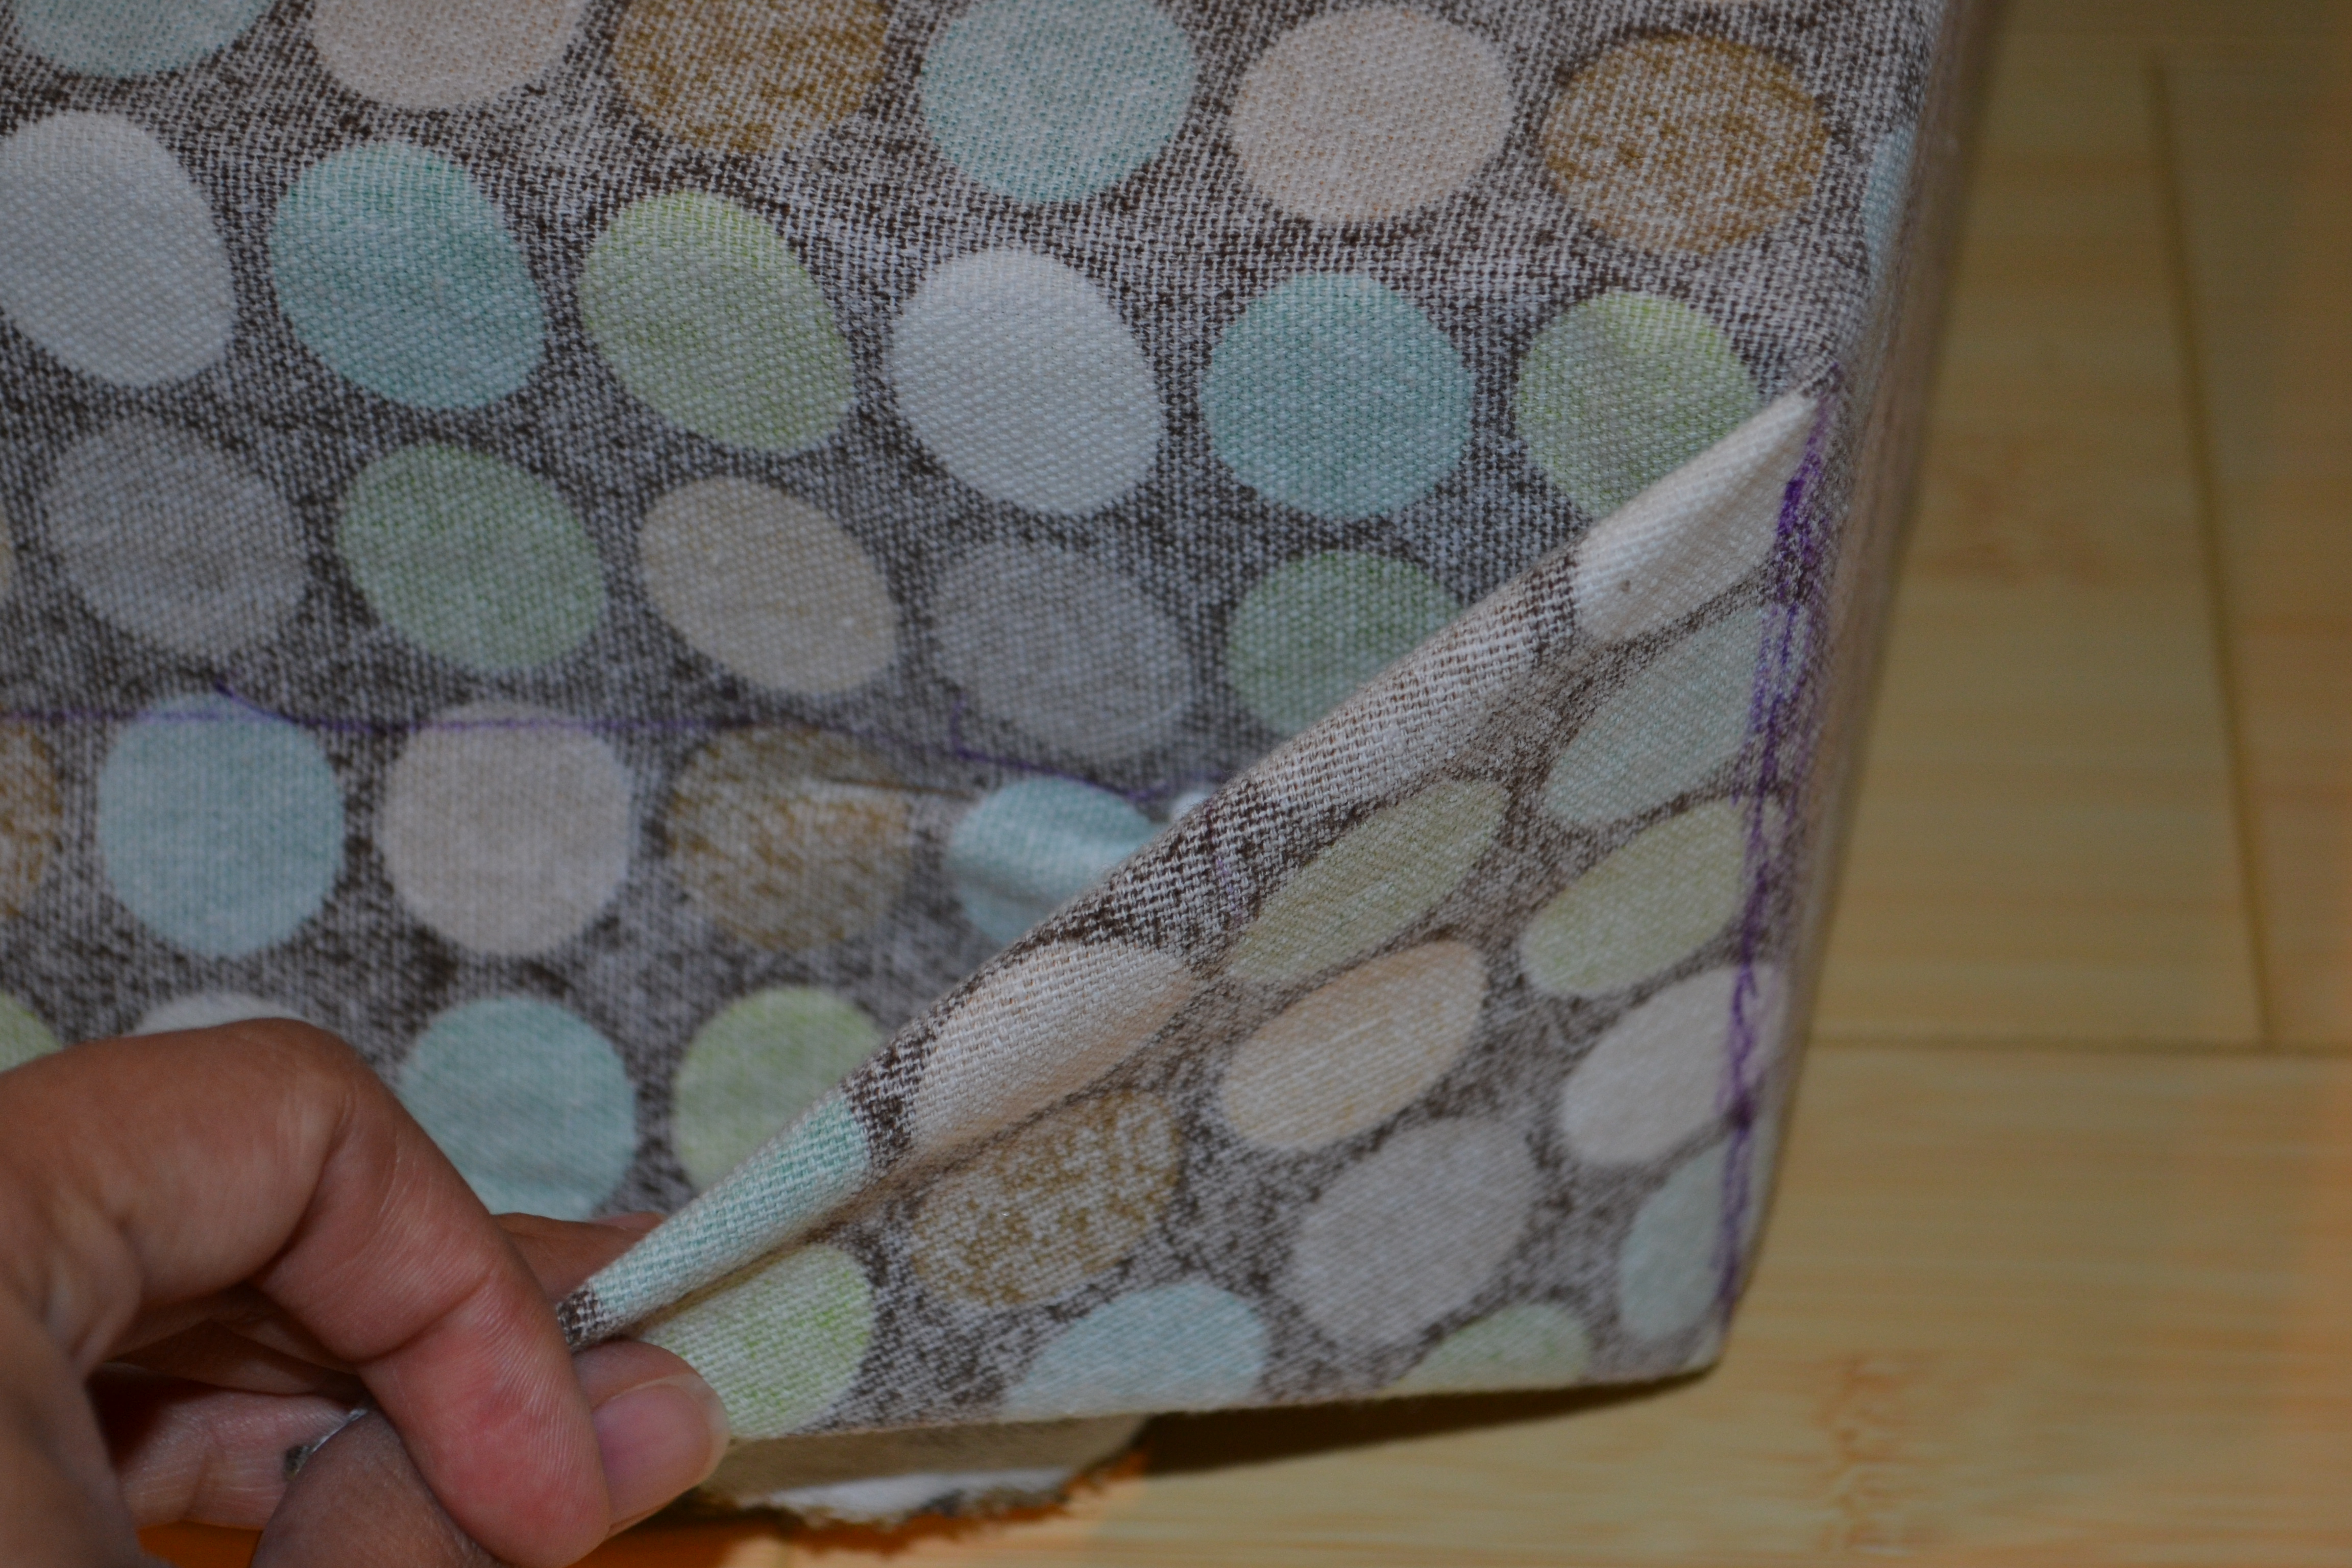
On to the skirt portion.  I really wanted it to be full, so I decided to do two full widths of the fabric I had (so around 90″ around).  I cut it, sewed up the sides using french seams (thought it would look a little more finished than serged seams), gathered the top, pinned it to the waistband….got it all sewn up, went to turn it…I somehow made a möbius strip.  It took me a good 15 minutes to accept that it wasn’t going to turn right side out and something got fouled up.  No pictures, since I was in a throwing mood at this point.  Apparently I had sewn one of the side seams of my giant pieces twisted.  I had to pick apart the entire waistband (and anyone who has gathered and sewn a waistband on knows how angry that can make someone) and take apart the side seam (which I decided to just cut, since my patience was wearing thin).  I got it all fixed and sewn back together without the twist.  Tried it on.  The waistband gaps.  Of course, I never really did nail down that fit properly.  The bottom of the tall waistband fits nice and tight, but the top gaps open.  In case I want to use it as a pocket or crumb-catcher I guess (which I just realized, I desperately wanted to add pockets to this and didn’t….don’t think that’s happening).  I cried to my mom for awhile, and set it aside for a few weeks.

Determined to finish it up, and determined to make something I would actually wear, I revisited the skirt.  Since the waist still overlapped a little .  My mom suggested I use the buttons to cinch it just right instead of darts, then I can do a buttonhole for the tie to pop through the waistband.  At least I had a plan, and the buttons placed this way would hold that gaping top closed.  During this meeting of the minds, she popped one of the elastic loops I had sewn in out.  After much more stitch ripping and under my breath cursing, I cut off both elastic loops and opted for conventional buttons and buttonholes, using some wood flower buttons I had laying around.  The invisible zipper is in there and went in very nicely, and is so invisible that you can’t really see it in any pictures.  Think of it as a Where’s the Zipper game.

So here’s the finished skirt.  If you don’t like it, I probably don’t want to hear it.  Nice comments are the only variety I can probably handle.  I’ll also accept any styling suggestions (I have dreams of sewing up some great white blouse and making a wood bead necklace….).  Also, please admire my super awesome dress form I found in the clearance section of Joanns.  The chevron cover zips off and it can be plain muslin, or a floral cover.  And it just happens to be my measurements.  Well, really close anyway.  If I just lose an inch or two in the waist and hips…

IMG_0967

Dress form envy! Love the chevron.

IMG_0968

IMG_0969

Maybe undoing a french seem is a right of passage for all sewing-for-yourself projects!

IMG_0971

Mobius strip and all, I love the style and the fabric!

I’m sure sewing for myself will get easier with time, right? Why is kids sewing so much easier?!  Doubtful that I will do the matching skirt for Charlotte, but I do have about a half yard left….I’m thinking she might get a cute blouse.  Any ideas?

The kids’ room has been an ongoing project for… well, since we moved in almost 2 years ago! I wish I had a before picture to show you, but I’ll just say that the beige motif of the basement was in the bedrooms too. Everything was beige. Walls, ceiling, carpet, closet doors, trim, closet hinges, windows… everything. And we love color! At least we had a clean slate to work with. The very first thing we did was pull up that carpet and found beautiful wood floors underneath. We had those refinished and stained a rich dark brown before moving in and that was the. best. idea. ever. No dust to deal with and they were done in 4 days. Amazing!

During my “nesting” phase while preggers with Stone I just HAD to get this room the house painted. Isn’t it funny how these moods just hit you?! I knew I wanted to use Anne Marie Horner’s fabric from The View Along the Way’s nursery for the curtains. Isn’t her nursery super cute? I wanted stronger colors on the walls though and went with a blue and a green(or is that more yellow?) from the fabric. I felt it was still a bit girly without screaming girl’s room! I ended up going with Sherwin William’s nugget and the blue I can’t recall and had no left over paint to reference. It might have been Watery, but I’m not sure. Anyways, I love the color combo and the plan is to use corals and blues and yellows and browns for accent colors.

DSC_8679

so bright and cheery! Love those hooks.


With all the crazy color going in there the furniture had to be white. Since the plan was for the kids’ to share this room we looked for a bunk bed and got a great deal on a Craigslist find.

DSC_8691

The armoire we had from before and is super useful since we have little closet space and the little dresser was a Craigslist find as well! Can you tell we’re sort of obsessed with Craigslist?

DSC_8683

I’m a sucker for that look. Your kids room will match my bathroom cabinets 😉


The changing table is still in there, but I’m thinking of selling it soon. Space is a limited commodity in our house and oh yeah, the hubs accidentally ripped the door off with the cargo pockets on his pants. (I told him those went out of style years ago!)

DSC_8686

Yup, I think it can go.


And that’s it! I have lots of plans on how I’d like to finish decorating:

  • we have some hooks for bags and sweaters at Starr Lily’s height already, but I want to make more things easily accessible for her (ie, shift clothing to lower drawers she can reach in)
  • curtains
  • incorporate birdcages, maybe over the armoire and clear off all the stuff up there now
  • some sort of bin to hold the stuff animals currently on the top bunk
  • a mobile for Stone
  • a pretty handmade quilt (or two)
  • some artwork (did you see my Pinterest “yarn S” fail on the changing table?)
  • under bed storage for extra books, or something on the wall in the bunk bed
  • change the fan lighting
  • maybe a rug

I hope to have some mini projects completed and get this room in shape! How do you all decorate your kids’ rooms? What do you use for inspiration?

This is the second post in a journey to demolish an ugly bathroom and make it beautiful (and more functional).  I started out our bathroom remodel while Doug was at work by cleaning out all the cabinets and getting us all set up to use the second bath.  I’m actually a little happy that Charlotte isn’t potty trained (or training) right now so there’s less of a line for the one bathroom we have left.  We are also working on convincing Dexter to flush on occasion now.  When Doug got home from work and saw the clean slate, we were ready to jump right in and remove the gigantic mirrors (which were just barely attached o.O) and the vanities (that he hacked up with a circular saw.  Not sure that it was necessary to do it that way or he just wanted to cut stuff up.  I set aside things that I could take to Habitat for Humanity ReStore as we went (the ceramic soap holders, medicine cabinet, sink faucets…so not the best stuff out there but I felt pretty awful tossing EVERYTHING in the room) and the rest got tossed in a truck that we borrowed from a friend (Thanks, Monique!  Doug already misses it).  We carefully removed the toilet and put it in the garage to go back in later (instructing Dexter that he can’t use it in the meantime….).  From there Doug took over and carefully removed attacked all of the drywall with a hammer.

IMG_0708

Woo hoo!

Luckily my Mother-in-Law decided to pay us a visit to watch the kiddos while Doug and I made great weekend progress.  I begged, but she didn’t want to stay until the project was complete.  A lot of the furring strips (I looked that up a few times, really thought it was firring) had to be removed and replaced because they were moldy or rotten, and Doug added in some strips of 1×4 so that we could mount all of our cabinetry without worrying about studs.  Such a smartie sometimes.  There was a ridiculous amount of cursing as he drilled into the concrete block, enough that his mom even came in and yelled at him.  Had she had soap handy I think she would have washed his mouth out….

IMG_0712

Aww, I remember that little shop vac. Doug helped Morgan install new floors a while back and that little vac was there too help too.

I removed the weird diagonal wall, (imagine me flexing my reciprocating saw muscles….the plan as of now is to make that corner into a linen closet) and we dry walled that portion of the ceiling so as to contain the cockroach poop avalanche, then I assembled all of our cabinetry (the Hemnes series from Ikea) so that we could try it out in the space and figure out where things would go.  Good thing I build a lot of Lego models with Dexter….Ikea cabinetry was pretty much the same. Doug ran new electrical so that we could have a light over each vanity…and when we turned them on, we realized that it was not enough light.  Don’t tell Doug, but I’m also not 100% sure I like the lights we picked…what do you think?  Maybe I’ll have to wait and see after everything else goes in.  We forgot how dark the shower was and how great it would be to have a light in there….so another trip to the store and we had two recessed lights to install for some more light.

IMG_0710

He’s kind of like R2 D2, no?

IMG_0709

(They didn’t have the shower trim kit in stock that we wanted for the light, so that will go in when we get to a store that has it)

Doug added some more electrical boxes too so that he could have an outlet near his vanity and we could have outlets underneath to plug in some under cabinet lighting.

IMG_0713

(Imitate R2D2sounds here.)
Beep beep beep bop?

IMG_0711

I spent Monday cleaning up the space from all of our work and installing some insulation (since three of the walls in the bathroom are exterior walls).  Great progress so far, even if it doesn’t look like much yet.

IMG_0715

I say you build a closet for R2D2 here.

Next up, wrap the room in vapor barrier and install new dry wall and concrete board.  We will also take on ripping up the floor (and hopefully remove the step–we originally thought it was poured into the concrete slab, but noticed during demolition that it’s concrete block on top of the sub floor…should be removable!)  Once the floor is out and dry wall is up it will come together pretty quickly I think.  Or at least look better as we go since it will be new stuff going in instead of old stuff left behind.  And less dusty.  I sound pretty awful from breathing in all that yucky dust.

What do you think?  What would you have done with that corner?

We’ve been working a little at a time on the garden and it’s looking great. We even have a few strawberries!

DSC_8578

mmmm….any problems with birds?

Thankfully we’ve had some rain so we haven’t worried too much about the irrigation system.  We’ve just been watering everything on the dry days.  Have I mentioned that we have a couple of rain barrels? Our county offers a great program where you can pay a minimal fee and they help you build a rain barrel (all supplies included). I’m glad we have them! After dinner, Morgan and Starr Lil’s fill up their watering cans and water everything in the garden, plus all the planters around the house.  I love to look out the window and see them playing in the dirt, pulling up weeds.

But watering the plants by hand every night isn’t always feasible so we finally got around to laying down the irrigation system!

DSC_8601

Charlotte would love to come ‘help’ and remove all of your flags!! 😉

It looks a bit like a construction site, no?  Ha ha, those flags are pretty handy for labeling our seeds though.  We used 2, 75 foot soaker hoses in the garden. It was what was recommended on the packaging and after laying down three hoses last year we thought we might follow directions this time!

DSC_8599

They connect very easily and then all we had to do was put a 150 foot hose from the house to the garden.

DSC_8586

Morgan–run a trench and some pipe!!

Did you know you can buy a timer for your hoses so you don’t  even have to turn it on? It’s like magic! Seriously the best garden invention ever.

DSC_8591

I agree, magic. We have one for our garden too and it’s amazing.

You set the time you want it to run and  bam! Done. On rainy days we just make sure to turn off the timer.

The tomato and been trellises went up too.

DSC_8517

Last year we waited too long to do this and had tomatoes all over the ground. The little plants are getting bigger – I hope we gave them enough space. It doesn’t look like the peppers are coming in, so we might use that space for some volunteer tomatoes that are springing up now. I’m excited to have lots of tomatoes this year and try out some canning for next winter.

Our flowers are also growing beautifully. Starr Lily’s little garden keeps growing and the hanging baskets are so pretty.

DSC_8522

In love! I need some of that chartreuse in my baskets…

And here is our first harvest!

DSC_8584

yum!

Some yummy strawberries and herbs!
There seem to be a ton of slugs this year too. Any tips on managing those little critters? I’ve heard coffee grounds work, but they also change the ph of the soil so I’m looking for a better alternative.

The garden is more or less on autopilot now.  We weed occasionally, harvest if things look like they’re ready and wait for some goodness to sprout.  How is your garden doing?

I can’t believe my little guy is 5 months old!

DSC_8673

Ah! Those eyes!! Love him!

Aren’t those cheeks adorable? I kiss on them so often, that Starr Lily repeatedly tells me, “don’t eat him mami!” It is too cute. Stone is so much more aware now and hitting all kinds of new milestones. Last month he found his hands and now he is actively grabbing things and holding on to them… sometimes, haha! I’m pretty sure those pesky teeth are starting to make an appearance too since the drooling is in full force now.
A few weeks ago I bought Stone this little wooden teether whale and he can hold on to it, chew on it, but every so often, it goes flying. I decided I wanted to make one of those toy/paci/cup tether strappy things so it doesn’t go on the floor. (Do they even have a real name?) I found this one on etsy and really like how it looks, but I wanted it to have a clip that I can attach to his shirt too. So I made my own!

DSC_8603

Do you want to make one too? It was super easy.  I had some fabric on hand, but I did make a quick run to Joann’s.  This is what you’ll need:

DSC_8607

3″ by 24″ piece of fabric

1/4″ elastic cut into a 12″ piece

suspender clip

snaps (or velcro)

teething toy

Step 1: Fold the fabric in half, right sides together and press.

Step 2: Pin one end of the elastic to the raw edge of the fabric.  Measure halfway down the elastic and half way down the fabric, pin those together on the raw edge as well.

DSC_8614

Step 3: Secure the elastic to the end of the fabric first.  I backstitched a couple of times to make sure it was secure.

DSC_8615

Step 4: Sew the elastic on to the fabric by pulling it taut as you go.

DSC_8616

a zigzag stitch is great for this!

Once you’ve sewn a little piece, guide it out the back, keeping the elastic tight.

DSC_8617

This is what you should have now:

DSC_8619

Step 5: Arm yourself with some patience and maybe a glass of wine, and flip the fabric right side out.  <–or steal someone’s bodkin (-Amanda)

Step 6: Fold the raw edges in and stitch those down.  Back stitch these well since this is where most of the action will take place and you won’t want it to unravel.

DSC_8620

Step 7: Slide in the clip and sew it down.  You could Velcro it or put snaps in, but since I don’t plan on moving the clip, I skipped on the snap.

DSC_8623

Step 8: Add the teething toy and snaps on the other end. (Maybe get your little helper to help)

DSC_8626

And that’s it!

DSC_8636

great idea!! And you can unlatch that toy and add a sippy on when he’s past the teether stage and more into the ‘let’s throw the cup to see mommy have to get it 100 times’ stage!!

This little whale is sure to stay with my little guy now.

I’d love to see how yours turn out!

I really like the idea of decorating my front door with a pretty wreath. It makes me feel all warm and fuzzy coming home. Almost like having someone with a smile greet me at my door. However, this is what I’ve been coming home to:

DSC_8563

“rustic” 🙂

Not great. Actually, it is almost depressing! I made that little wreath a year ago and it has slowly been falling apart. The pine cones came from our yard, but as you can see, only a few have survived and others are ready to jump ship!
I finally got around to taking it down and putting up another one. I love the look of pretty felt flowers and looked up some inspiration on pinterest. Now that spring has sprung, I decided a yarn covered wreath and a few flowers would brighten up the door. I had an old styrofoam wreath, covered it in some beige yarn (only because that’s what I had on hand) and looked up how to make some felt flowers. I always have a few felt pieces laying around and went with blue, yellow and grey flowers. I used this tutorial for the blue one a this one for the other two.
DSC_8562
Now all I had to do was put it together. I was going to hot glue the flowers on, but then I thought I could just change out the flowers to give the door a new look. So I took some thread and I sewed them on. Let me tell you, sewing onto yarn is not an easy thing. It was cumbersome and if you look closely you can see where I looped the thread around, because it kept breaking through the yarn.

DSC_8568

anything that involves breaking out a needle and thread makes me cringe a little, so kudos to you!

I finally got it put together, found some ribbon and put it on the door! Kinda cute, no? I’m not liking the green command hook though. How do you hang up your wreaths?

DSC_8566

simple and sweet-love it!

It’s a little simple, but I love it anyways, and will have a little smile on my face every time I come home.

I’ve been thinking of painting our front door a fun color too.  Any suggestions? What’s on your door?